

Blender is well-known for its versatility, but how exactly can it enhance your game development pipeline? Whether you’re creating characters, props, or stunning environments, integrating Blender effectively is crucial for achieving your vision. This article will guide you through the steps to incorporate Blender into your development process, ensuring you make the most of its capabilities.
The Role of Blender in Game Development
Before diving into the nuts and bolts, it’s essential to understand Blender’s place in your workflow. Blender offers an all-in-one solution for 3D modeling, animation, and even real-time rendering, making it a popular choice among indie game developers and filmmakers. Its extensive feature set gives you the tools needed to create virtually anything you can imagine. The community around Blender is also bustling, providing an endless stream of tutorials and plugins to enhance your experience.
With the introduction of various game engines, the integration of Blender has only gotten smoother. For instance, both Unreal Engine and Unity integrate seamlessly with Blender, allowing for straightforward workflows from model creation to implementation in games.
Setting Up Blender for Game Development
To kick things off, let’s ensure your Blender setup is tailored for game development:
- Download and Install Blender: Get the latest version from the official Blender website. Make sure you choose the version compatible with your operating system.
- Set Up the Game Engine: Choose your preferred game engine (like Unity or Unreal Engine). Each engine has specific requirements for importing assets, so familiarize yourself with those early on. For example, Unity prefers assets in FBX format, while Unreal can handle both FBX and OBJ.
- Configure User Preferences: Go to Edit > Preferences in Blender and set your workflow preferences. For example, you might want to enable Auto Save and configure the shortcut keys to match your comfort level – it can make a real difference in your efficiency.
Modeling Techniques Unique to Game Development
Now, let’s move into practical modeling techniques tailored for game assets:
- Low-Polygon Modeling: For real-time applications, low-poly models reduce the load on your game engine. Start with simple shapes and gradually add details with normal maps. The process can greatly improve performance while maintaining visual fidelity, especially in large environments.
- Smart UV Mapping: Use Blender’s UV Mapping tools to ensure your texture maps fit your models well. This can significantly impact your asset’s appearance in-game. Consider using the UV Editor effectively to adjust and preview your layouts.
- Sculpting vs. Modeling: Understand when to sculpt and when to model. High-poly models are excellent for pre-rendered assets, but stick with low-poly for real-time purposes. Additionally, blending both techniques can yield excellent results where details are necessary while keeping performance in check.
Animating and Rigging Your Characters
Once you’ve crafted your models, it’s time to bring them to life. Blender shines in character animation:
- Rigging: Use Blender’s Rigging tools to create a skeleton for your characters. This allows for natural movement and deformations when animating. The Armature tool can be particularly useful to create complex rigs that allow for better animation quality.
- Animating Actions: Blender supports a non-linear animation (NLA) editor, enabling you to mix various animations together. This is especially useful for creating complex character interactions. Explore features like Action Constraints to coordinate animations smoothly.
- Exporting Animations: Be sure to check your game engine’s requirements for importing animations. Export as FBX or OBJ, as these formats usually retain animation data. Consider exporting test animations in your game engine to ensure proper integration.
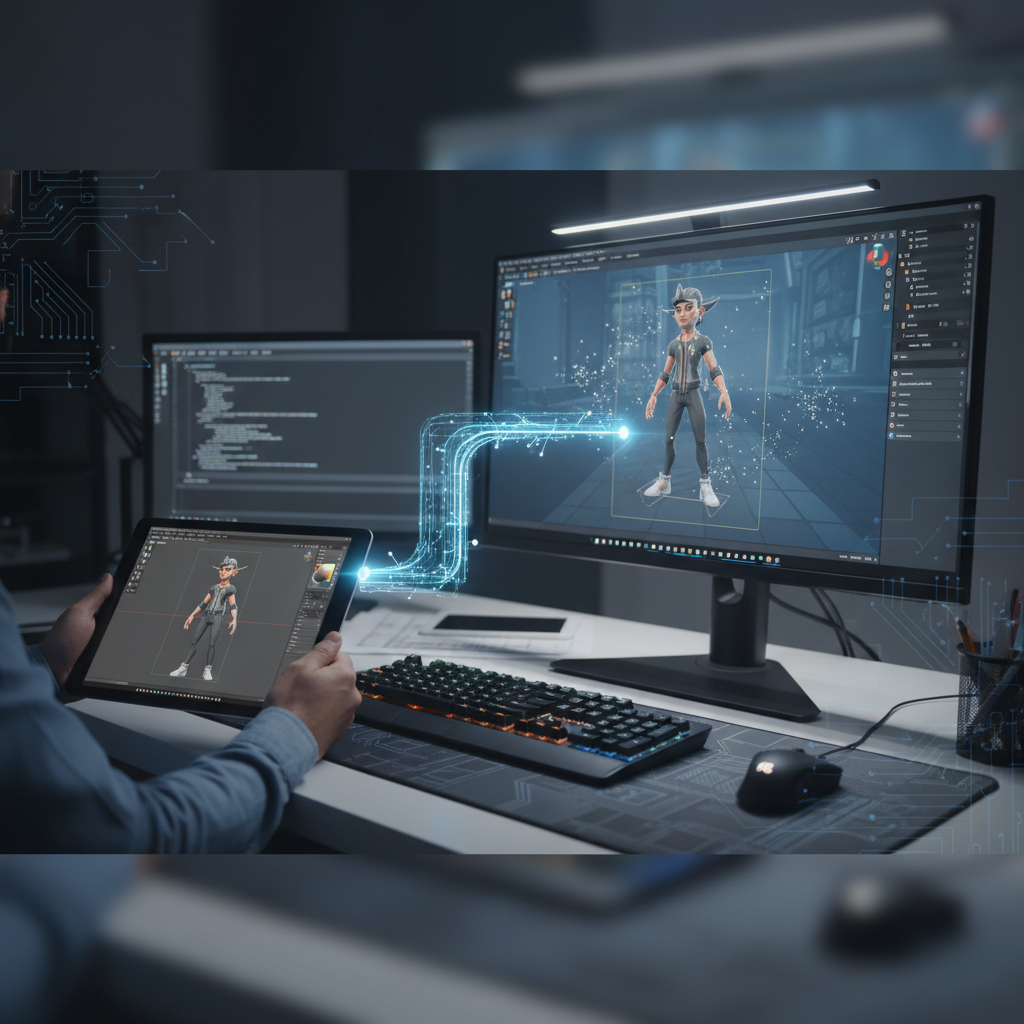
Integrating Blender with Game Engines
In this video, you’ll see a step-by-step demonstration of how to seamlessly incorporate Blender models into popular game engines, showcasing practical techniques that can enhance your development workflow. By following along, you’ll gain valuable insights into asset management and optimization strategies that can elevate your game’s visual quality.
![[Blender] THE FUNDAMENTALS of Exporting Rigged characters to Unreal, Unity, or ANY GameEngine](https://i.ytimg.com/vi/1Xm1h700uhk/hqdefault.jpg)
Moving your models from Blender to your game engine is a pivotal step:
Make sure to check engine-specific documentation for any unique requirements when importing your models. Both Unreal Engine and Unity provide quality guides on importing assets created in Blender, serving as excellent resources. For example, Unity requires that your models have properly set pivot points for accurate positioning.
Additionally, proper organization in Blender can aid in the transition. Naming your objects logically and grouping them can save time when you’re managing many assets. Use Collections in Blender to categorize your assets for easier export.
Testing and Iteration
After integration, testing becomes a key focus:
- Playtest Your Models: Check the visual quality and performance of your models in the game engine. Make adjustments in Blender as necessary and re-import until you achieve the desired look and functionality. Regular playtesting can yield valuable insights into how your assets interact with other game elements.
- Optimize Performance: Keep an eye on your frame rates. If performance drops, revisit your models and consider reducing polygon counts or texture sizes. Utilize tools within your game engine to monitor performance, and address leaks or excess draw calls as they arise.
Common Mistakes to Avoid
When starting out with Blender in game development, be aware of common pitfalls:
- Ignoring Scale: Always model at a consistent scale. Failing to do so can lead to unexpected results when imported into a game engine. Use Blender’s measurement tools to verify scale accurately.
- Not Using References: Reference images greatly aid in achieving realism. Always have them handy while modeling. Consider using ArtStation or similar platforms for gathering references.
- Neglecting Polygroups: Properly organized geometry can speed up the rigging and animation processes. Don’t skip this step; using Blender’s Collection system can help keep your project organized.
Maximizing Learning and Resources
Learning Blender is a journey. Fortunately, the community is rich with resources:
- Blender Guru offers insightful tutorials focused specifically on game development.
- YouTube is a great place to find tutorials. Channels like CG Boost focus on practical, hands-on projects.
- For those looking for coding, check out Blender’s official documentation to dive deep into Python scripting.
- Consider participating in forums like Reddit’s r/blender to keep abreast of new techniques and find solutions to challenges you encounter.
- Online courses, such as those on Udemy or Coursera, provide structured learning environments and projects that can enhance your skills further.
The Future of Blender in Game Development
As the game industry continues to evolve, so does Blender. With its regular updates, Blender is increasingly becoming a dominant tool for game developers. The recent advancements in real-time rendering and animation capabilities are opening new avenues for creativity and efficiency in game design.
To stay ahead, keep learning and adapting. Regularly check forums, engage with the community, and never hesitate to experiment with new features as they become available. Also, for more basic insights into getting started, explore this guide on getting started with Blender.
The implementation of features like the Geometry Nodes system has allowed for procedural modeling, taking workflows to new heights. Gamers and developers alike benefit from a community that continues to thrive, sharing a wealth of knowledge and artistic ideas.
Final Thoughts
Incorporating Blender into your game development workflow can elevate your project in ways you might not have imagined. By understanding its capabilities and properly integrating it with your game engine, you’ll unlock new creative possibilities. Remember to iterate, optimize, and learn continuously. Embrace the journey ahead – your next game masterpiece awaits!
For further assistance, take a look at the guide on keyboard shortcuts for Blender to increase your efficiency while you work.